About Me
— Fredlie C. Bruno — Handcraft Designer & Founder
Long before resin became a trend, I was dreaming of creating my own personalized trinkets. When I finally tried it, I fell in love with the process — the color, the texture, the joy of making something meaningful.
Treasured Crafts started as a creative escape and grew into a passion for crafting pieces that reflect personality and purpose. Every item is handmade with care, designed to spark joy and become a treasured part of someone’s day.
Whether it’s a thoughtful gift or something just for you, I hope each piece brings the same happiness I feel when I create it.
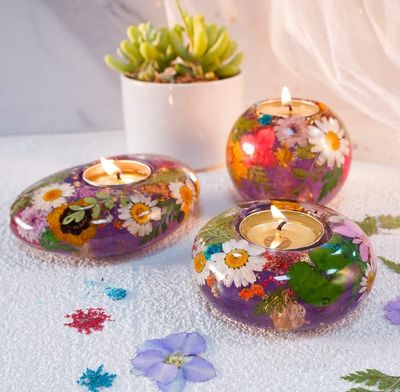
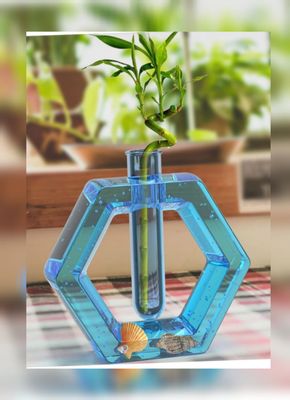
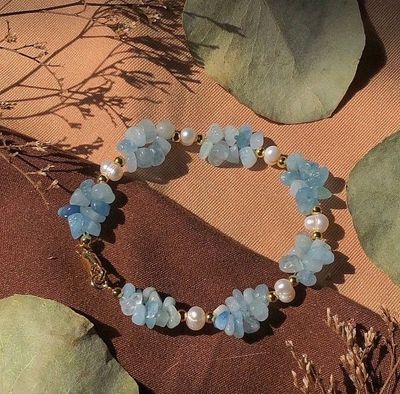
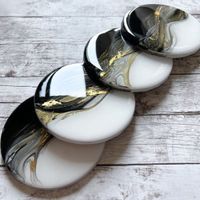
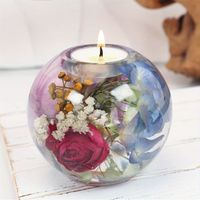
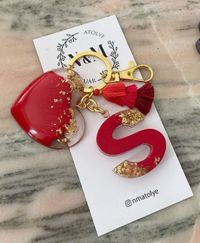
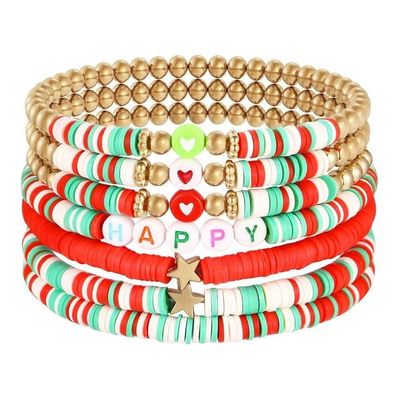
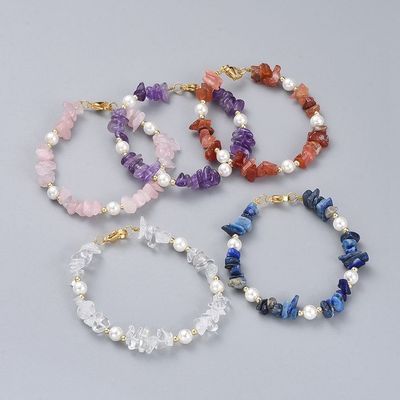
Color Inspiration Gallery: Find Your Favorite Hues
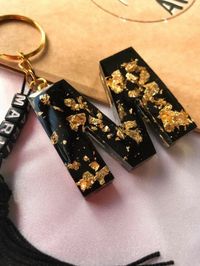
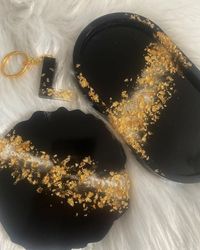
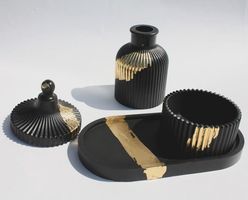
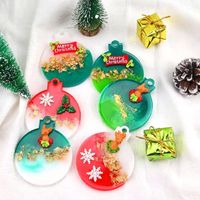
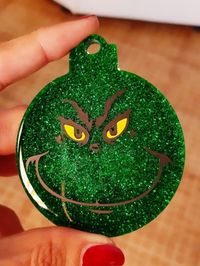

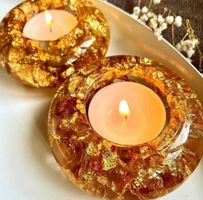
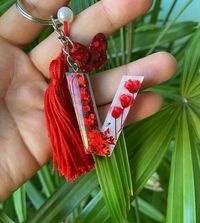
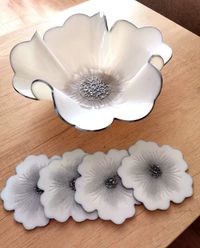
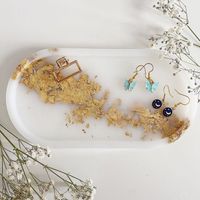
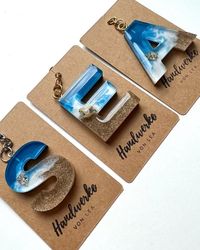
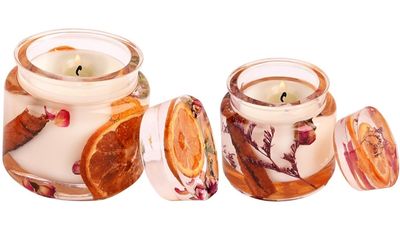
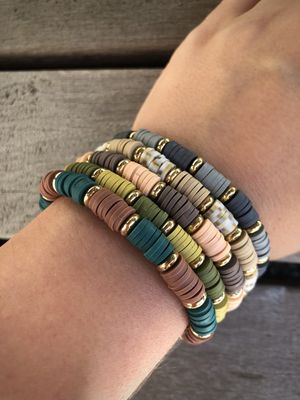
More Color Inspiration
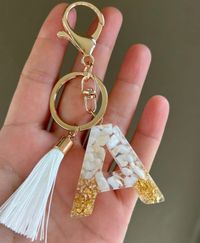
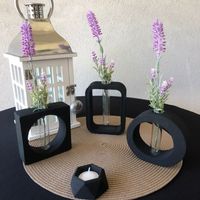
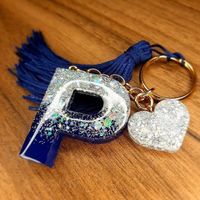
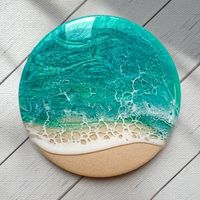
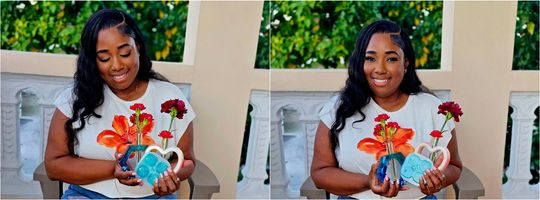
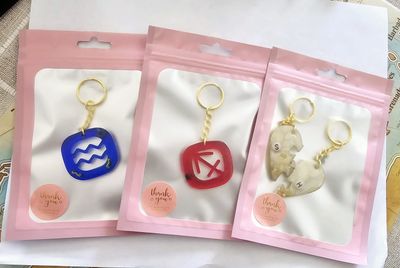
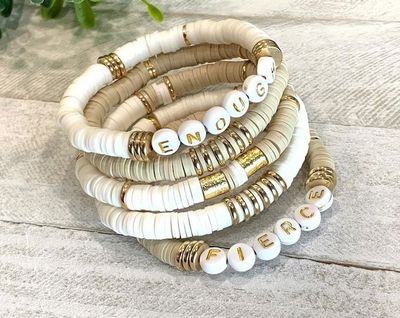
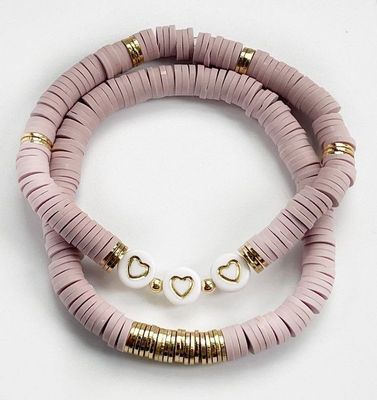
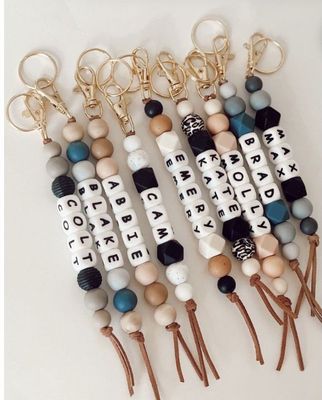
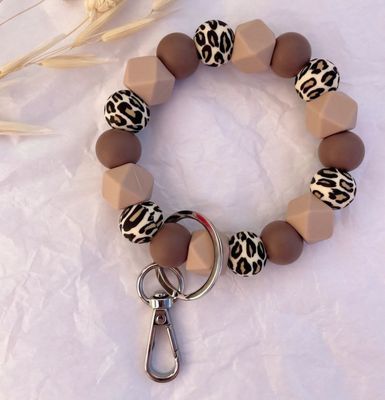
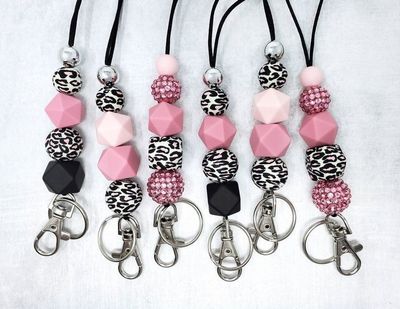
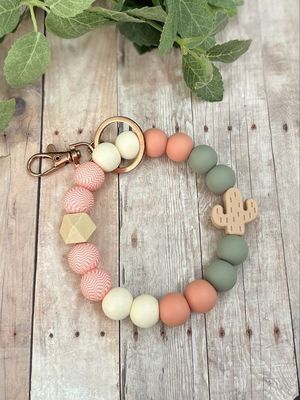
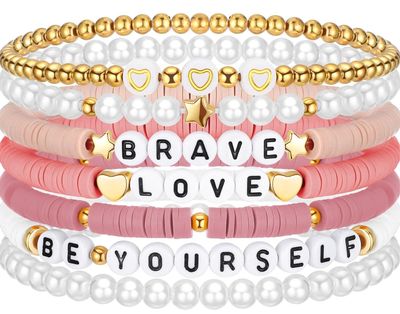
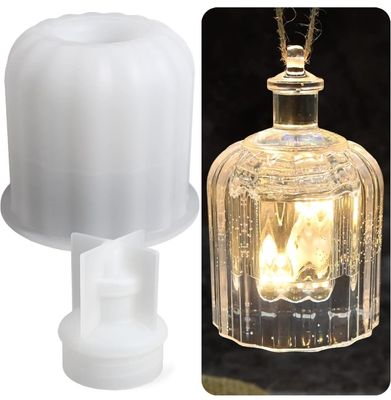
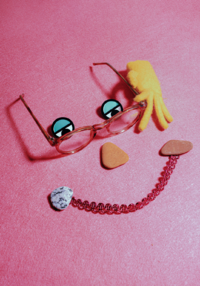
Featured Products


Order Processing Time
To ensure that each handcrafted piece is made beautifully, orders will take 3 to 6 days to be ready for pickup or delivery, depending on the design of the piece. Please reach out if you have any questions or concerns.
Like and follow us below!
Open hours
4:00PM – 7:30PM Mon
4:00PM – 7:30PM Tue
4:00PM – 7:30PM Wed
4:00PM – 7:30PM Thur
4:00PM – 8:30PM Fri
10:00AM – 6:00PM Sat
1:00PM – 4:00PM Sun